Product Photography by Product Type: A Category-by-Category Playbook
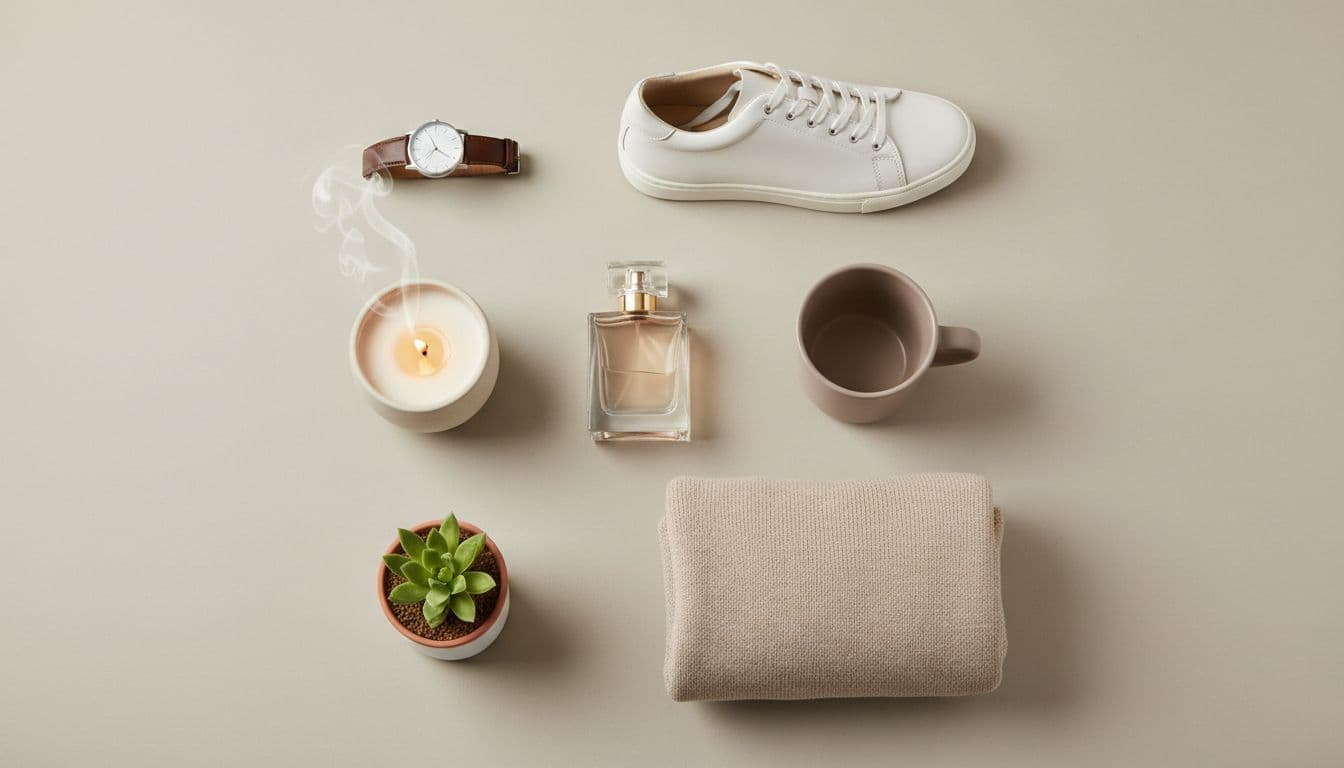
Generic advice falls apart the moment you point a camera at something specific. "Use soft, even light" is true, and useless, when the thing in front of you is a mirrored watch case, a translucent candle, a white notecard on a white background, or a supplement label a buyer needs to read before they will trust the dose. Every category has one problem that makes it hard, and naming that problem is most of the work.
So this is product photography by product type: 28 categories, each with the specific thing that goes wrong and what to do instead. Pick your section and skip the rest. At the end there is a workflow for producing all of it from one photo in the AI Product Photo Studio, which is how most small businesses realistically get through a catalog.
What is true for every category
A few things hold no matter what you sell:
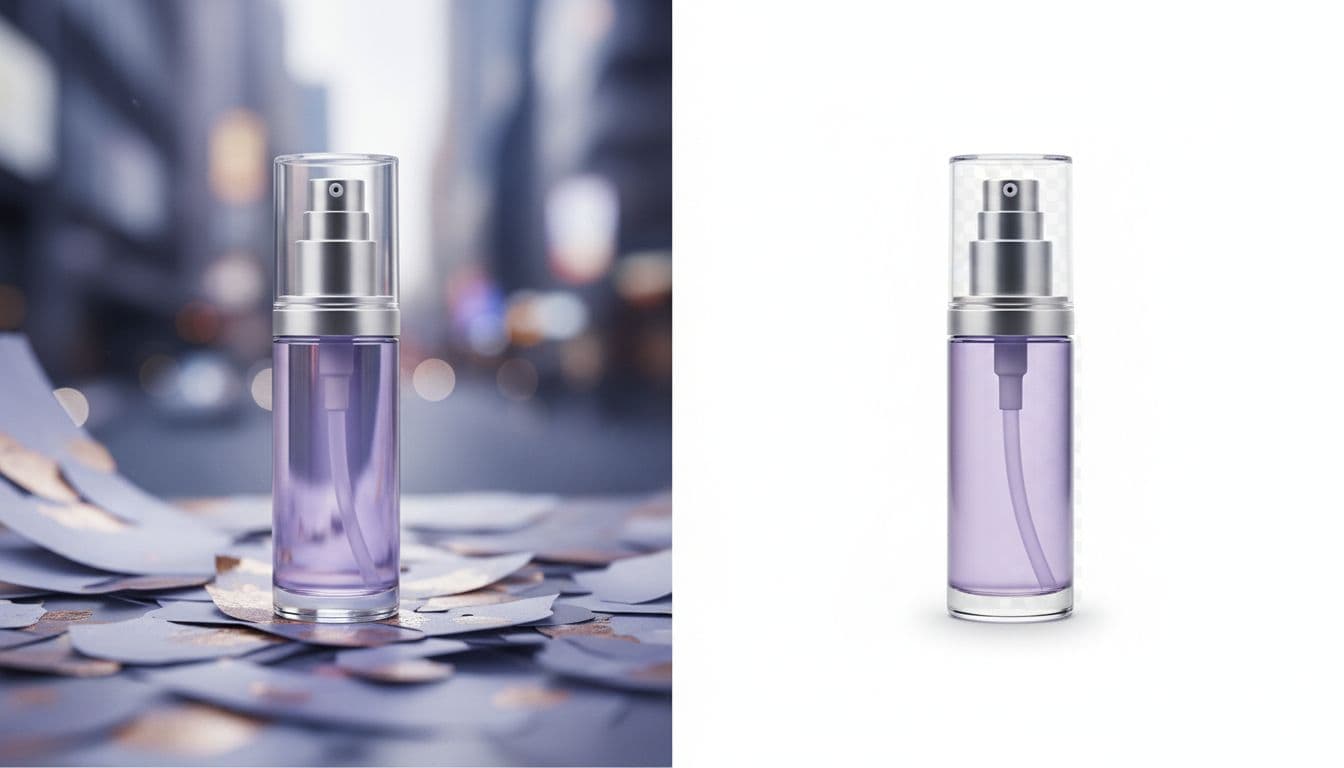
- The main image belongs on a plain background. White-background product photos crop predictably and satisfy most marketplace main-image rules; the white-background guide explains why platforms insist, and cluttered shots should start by removing the background.
- Diffuse your light. Nearly every failure below is a small hard source doing something ugly to a reflective or textured surface, and a big soft source — an overcast window, a bounced lamp — fixes more than any camera setting.
- Put scale somewhere in the set. Nobody can judge size from an object floating on white, and "smaller than I expected" is a return already in motion.
- Keep color honest. If the navy photographs black or the lipstick photographs half a shade warm, you have written the complaint yourself.
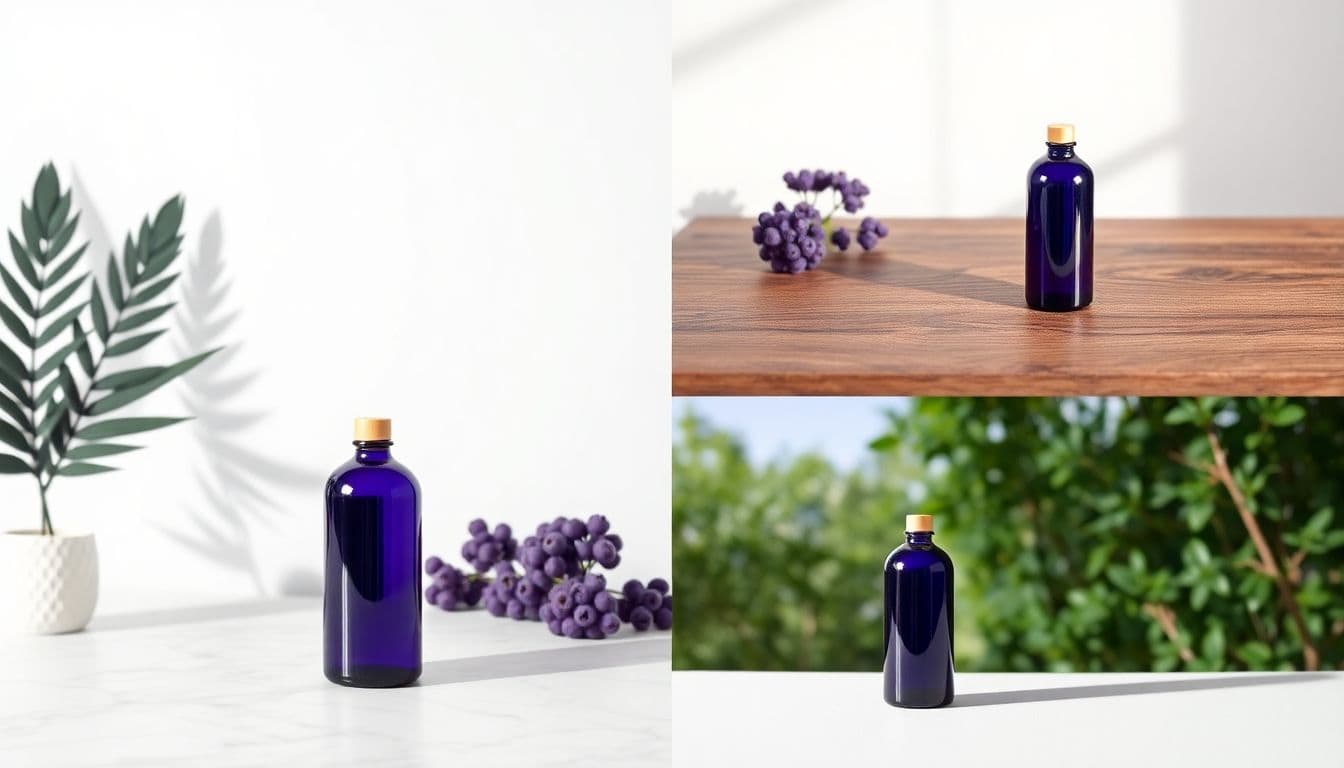
- Shoot a set, not a shot. One clean hero, two or three angles, one detail, one in-context lifestyle frame.
Now the specifics.
Fashion and accessories
Two enemies here: things that collapse when there is no body inside them, and hardware that mirrors your room back into the lens.
Clothing
A shirt laid flat reads as a limp rectangle, because garments sell on drape and drape needs volume. Either put it on a form — mannequin, ghost mannequin, or one you edit out — or commit fully to a flat lay where sleeves fold at a deliberate angle and every crease looks intentional, shot square-on and level with the garment's middle so the hem does not skew. Color fidelity matters more here than almost anywhere, so use neutral daylight rather than a warm bulb or your navy arrives looking black; clothing product photography has more setups.
Shoes
The hero angle is the three-quarter — toe turned slightly toward the camera so you read the outer side and the front at once. A flat side profile reduces a shoe to a silhouette with no depth, and shooting down at it shortens the toe box and makes the whole thing look stubby, so get the lens near shoe height. Spend the secondary slots on what buyers actually ask about, which shoe product photography covers: sole tread, back of the heel, inside collar.
Handbags
An unstuffed bag collapses, and a collapsed bag reads as cheap no matter what it cost to make. Fill it with tissue until the panels sit taut and the base is square, then shoot three-quarter so front, side, and depth are legible in one frame. Clasps, zips, and feet are polished metal, so keep them off the axis of your light or they blow out into white blobs instead of reading as metal — handbag product photography goes deeper on staging.
Backpacks
Same structural problem, plus a volume problem no single photo solves: a 15L daypack and a 35L travel pack look identical floating on white. Pack it out so it holds its shape, shoot front and three-quarter, and give one secondary image to the open interior with compartments visible. A photo of a laptop actually sitting in the sleeve settles the "will my 16-inch fit" question faster than any spec table, and backpack product photography has more.
Hats
The brim is the product, and the brim only reads from the right height. Shoot at or just above brim level so a curved brim looks curved — a straight overhead shot flattens a fitted cap or a fedora into an oval and throws away the profile you are selling — then add a straight side view so crown height is clear. Structured hats hold themselves up; beanies and bucket hats need a form or stuffing or they photograph deflated, as hat product photography shows.
Watches
A watch hands you two mirrors: the polished case and bracelet, and the crystal over the dial. Point a bare lamp at it and you photograph your own ceiling instead of the dial, so wrap it in soft, diffuse light and move the camera slightly off the reflection axis, which kills the ghosting without killing the highlights that make steel look like steel. Set the hands to roughly ten past ten — the convention frames the logo and clears the subdials — and keep the dial text sharp; watch product photography covers the rest.
Sunglasses
Sunglasses stack every reflection problem at once: lenses mirror the room, the frame's curve drags a highlight streak across them, and dark lenses tempt you into overexposing until a deep tint reads washed-out gray. Use a large, soft, indirect source and keep the camera off the lens's reflection angle. Shoot a three-quarter with the temples open for depth, plus the straight-on front view buyers use to judge lens shape and face width — see sunglasses product photography.
Jewelry
Jewelry is small, mirror-finished, and scale-ambiguous — three hard problems in one object. Soft wraparound light and an off-axis camera handle the mirroring, but scale is what costs you sales, since a pendant shot alone could be an inch across or three, so put a size reference in the set. Wipe the piece first, because at that magnification a fingerprint is enormous; the jewelry product photography page and the walkthrough on making jewelry product photos with AI go further.
Beauty and personal care
Glossy surfaces, translucent containers, and labels people read closely before putting anything on their skin.
Cosmetics
The category-level problem is consistency, not any individual shot. A line gets browsed as a grid, so if five products were shot at five distances under five lighting conditions, the collection page looks disorganized even when each photo is fine alone. Lock one camera height, one distance, and one light setup, then shoot the whole line in a single sitting — cosmetics product photography shows the range.
Makeup
Color fidelity is the entire job. A lipstick shot under mixed light — window daylight plus a warm bulb overhead — shifts half a shade, and half a shade is a return, so use one consistent neutral source and do not trust auto white balance on a heavily saturated product. Then actually show the color, as makeup product photography covers: angle a bullet so its face is toward the camera, open a palette rather than shooting the closed lid, and add a swatch frame.
Skincare
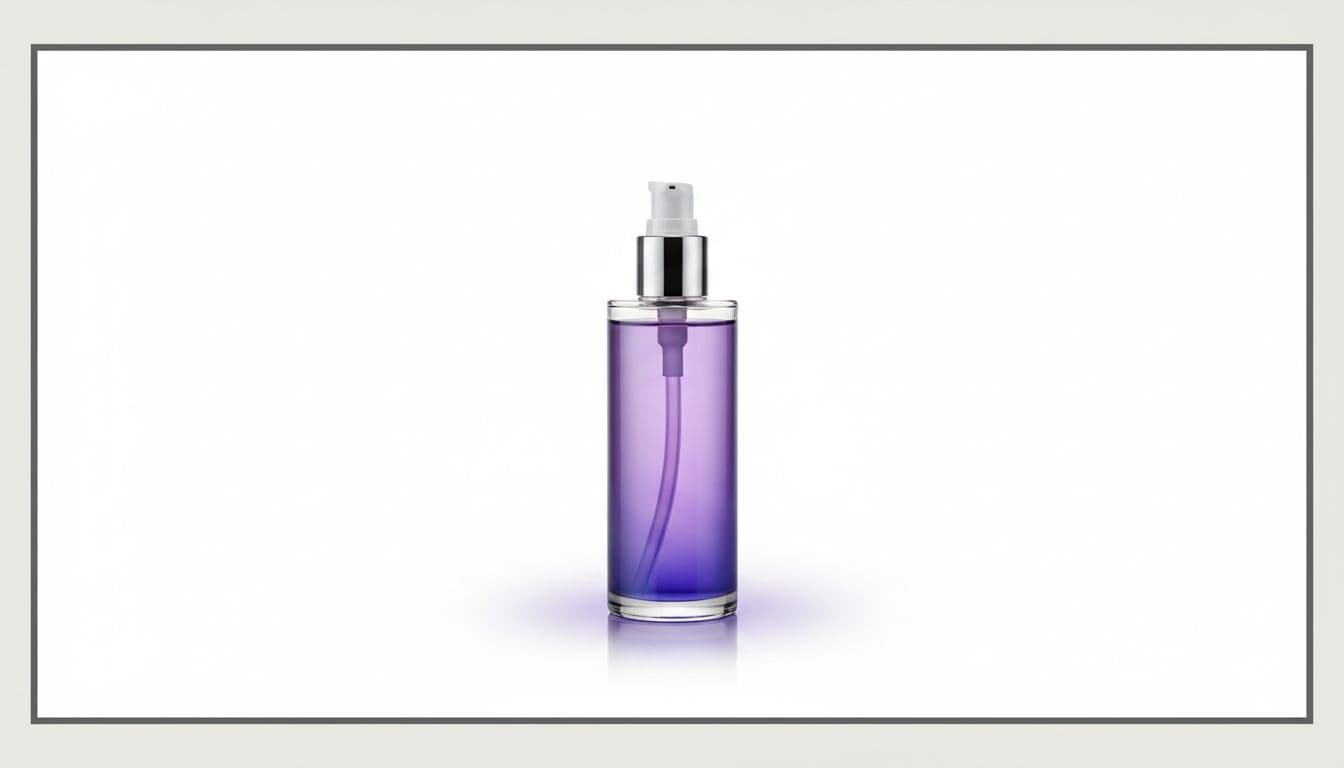
Serum bottles and cream jars are glossy, often translucent, sometimes frosted, so front light alone renders them as solid plastic lumps. Let light come from behind or the side and the fill level and formula color read through the glass. Then get the label pin-sharp and square to the camera, because ingredient-conscious buyers zoom in and a stylishly rotated bottle that hides half the ingredient list costs you the sale it was meant to win; skincare product photography covers vanity and marble scenes.
Perfume
Perfume is the hardest object in this group. Clear glass has almost no surface of its own, so flat frontal light makes the bottle half-disappear and leaves you with a floating cap — what defines a bottle is its edge. Light it from behind and to the sides so the shoulders and corners pick up bright rim highlights that draw the silhouette, watch the collar and atomizer clipping to white long before the glass does, and see perfume product photography for gradient backdrops that let the liquid color glow.
Soap
For handmade soap, texture and color are the product, and flat frontal light erases both. Rake the light across the bar from the side and the swirls, embeds, botanical inclusions, and cut texture all come back — and photograph the cut face rather than only the wrapped bar, since the inside is what people are buying. Keep white balance neutral, because handmade colors drift badly under warm light and a lavender bar that photographs pink generates messages (soap product photography has artisan scenes).
Supplements
Supplements are a label legibility problem before they are a photography problem. Buyers check serving size, count, dose, and third-party marks before adding to cart, so the panel has to be crisp and square to the camera, with one secondary image devoted entirely to the facts panel. Cylindrical bottles curve the label away at the edges, so back the camera up and zoom in rather than shooting close and wide — it flattens the wrap distortion considerably, and supplement product photography goes further.
Home and lifestyle
Home goods are bought for a specific room, so context does more work here than anywhere else. The plain hero still has to be right.
Home decor
Decor lives and dies on scale ambiguity — a vase that could be six inches or two feet tall is a vase nobody risks — so anchor it with at least one frame in a plausible room next to recognizable objects. Match the color temperature of the scene to the mood you are selling, warm for cozy and cooler for minimal, because the light does as much styling as the props. Home decor product photography has interior scenes by style.
Furniture
Furniture punishes perspective mistakes harder than any other category. Shoot too close and the near corner balloons; shoot from standing height and the piece looks squat and short-legged, so back up, drop the camera to roughly seated eye level, and keep it level so verticals stay vertical — converging verticals make a bookcase look like it is toppling forward. Add a close detail of the joinery or weave plus one full-room frame for footprint, which furniture product photography scales up.
Candles
Wax is translucent, which is your best asset and the easiest to waste; side light passes through it and gives a candle the soft internal glow that makes it look like a candle rather than a cylinder. Decide deliberately between lit and unlit — unlit shows true wax color, vessel, and label, while lit sells atmosphere but blows out if you expose for the flame, so expose for the wax and let the flame stay small and bright. Glass vessels behave like perfume bottles and want rim light to define the edges, as candle product photography shows.
Mugs
The classic mug mistake is handle position: pointing straight out to the side it flattens the mug into a shape, but rotated back to roughly four or five o'clock you get depth, a readable handle, and a cleaner silhouette at once. If the mug is printed, center the design and shoot from a little further back, because a cylinder wraps artwork away from the lens and a close shot distorts it badly. Glazed ceramic throws a hard specular streak, so diffuse — mug product photography has more.
Planters
A planter shot is two products in one frame, so decide which you are selling. If it is the pot, use a restrained plant that does not swallow it and shoot near pot height so the profile, rim, and saucer read; buyers are matching your pot to a nursery pot they already own, so show the opening clearly and include one empty shot. Matte terracotta and high-gloss glaze want different treatment, since the glaze collapses into hotspots without real diffusion (planter product photography covers indoor and patio scenes).
Art prints
Two problems, both geometric. Glazed and framed prints mirror the room, so shoot unglazed or move well off-axis; the bigger one is keystoning, because any tilt turns your rectangle into a trapezoid and a print that is not perfectly square reads as amateur whatever the artwork is worth. Put the camera dead-on, centered, and parallel to the surface, keep the blue in the photo the blue in the print, and add the framed-on-a-wall shot art print product photography uses for scale.
Stationery
Stationery is flat, thin, and frequently the same color as the background you want to shoot it on, so a white notecard on white simply vanishes — give it a soft shadow or a gently toned surface so the edges separate. Texture is the premium cue, so rake the light to bring out letterpress deboss, foil, and the tooth of cotton paper. Show the inside spread rather than only the cover, and fan or overlap a set so buyers can count what they get, as stationery product photography demonstrates.
Food, pets, and kids
Food
Appetite is made of texture and freshness, and both come from directional light. Side light and backlight make sauce glisten, give crumbs micro-shadows, and let steam show; flat frontal light, especially on-camera flash, turns food gray and dead. Shoot plated food at around 45 degrees and go straight overhead for flat spreads — and remember packaged food is a label job while prepared food is a styling job, so cut something open or catch a partial pour, as food product photography shows.
Pet products
Two questions decide a pet purchase: will it fit my animal, and will it survive my animal. Answer the first with an explicit scale reference in at least one frame, because "large" means nothing across breeds; answer the second with texture, raking light across plush, webbing, and stitching so buyers can see build quality rather than take your word for it. If it ships as a set, lay the whole thing out and make the count obvious (pet product photography has more).
Toys
The top pre-purchase question is what is included, so photograph the complete set laid out with every piece visible and countable; a hero shot of the assembled model alone generates messages instead of orders. Age grading and safety marks on the box need to be legible, which means the packaging panel earns its own frame. Bright saturated plastic clips easily — reds and yellows blow out first — so pull the exposure back and light evenly rather than hard, as toy product photography covers.
Electronics
Devices, gadgets, and accessories
Electronics stack three reflective surfaces in one object: brushed metal, glossy plastic, and glass. Diffuse everything and move off-axis, or your light source ends up neatly reproduced in the middle of the screen. The display is a real decision — black reads as switched off and slightly sad, but a composited fake screenshot is misleading — and ports and included cables deserve their own frame, since "what is in the box" and "which connector is that" are the questions that stall a purchase. Electronics product photography has device-specific scenes.
Marketplaces want different things
The same product needs different images depending on where it is listed, and the gap between platforms is wider than most sellers assume.
Amazon
Amazon's main image is the strictest brief in ecommerce: the product on a pure white background, filling most of the frame, with no props, added text, logos, or watermarks. Everything else you want to say moves to the secondary slots, where lifestyle scenes, scale shots, and infographics belong. Check the current specifics in the Amazon product image requirements before uploading, and use an Amazon product photo editor to turn the shots you already have into compliant white-background versions.
Etsy
Etsy pulls the opposite way. Buyers there are shopping for handmade character, so texture, warmth, and a visible maker's hand help rather than hurt — a clinically sterile white-only set can read as dropshipped. What you do need is a thumbnail that survives cropping in a crowded grid, so keep the product centered with margin and avoid detail so fine it disappears at thumbnail size, which Etsy product photography covers.
eBay
eBay skews heavily secondhand, and on secondhand listings honesty converts. Photograph the wear rather than around it: scuffs, serial plates, included accessories, and the real condition of the box. A listing that shows a flaw plainly gets fewer questions, disputes, and returns than one that hides it and gets found out on arrival, though thumbnails still need to be clean and high contrast to compete in the grid — eBay product photos goes into it.
Shopify
On your own store nobody enforces anything, which is exactly the trap. A collection grid where backgrounds, crops, and product sizes shift from row to row looks sloppier than any single mediocre photo, so pick one background, one aspect ratio, and one framing rule and hold them across the catalog, varying freely in the secondary images instead. Shopify product photos covers grid consistency and sizing.
The set to build for every product
Whatever the category, a strong listing set has the same shape:
- One clean hero on white, cropped square, for the main listing slot.
- Two or three angles covering whatever the hero hides — the back, the sole, the interior, the open lid.
- One detail shot at close range for texture, finish, or label.
- One scale or context frame so nobody is surprised by size.
- One or two lifestyle scenes for the product page, ads, and social.
Then produce it in the right shapes — square for marketplace grids, 4:5 for feeds, 3:4 for tall thumbnails, 16:9 for banners. The product photo sizes and aspect ratios breakdown has the details, and lifestyle product photography ideas covers what to put in the context frames.
Getting all of this from one photo
Everything above describes what a good result looks like. Producing it the traditional way means a shapeable light source, a surface, diffusion, and setup time per category — a real investment when you have forty SKUs and each needs five frames.
The alternative is to shoot one clean, honest source photo per product and let AI product photography rebuild the background and lighting around it. The AI Product Photo Studio is instructed to keep your actual item's shape, colors, materials, label, and logo while it changes the scene, so a buyer sees something close to what will ship; check fine details in each image. It does not exempt you from the source photo, since a blurry upload stays blurry and dust carries straight through, but it removes the lighting setup, and lighting is where most of the failures above start.
Upload one photo, pick a scene, set the ratio, download high-resolution and watermark-free with commercial use included. The AI product photo generator renders each variation in a single pass, so the five-frame set above takes minutes rather than a shoot day, and how to take product photos with AI walks through it end to end.
On cost: photos are a few credits each, drawn from one-time packs that never expire, with no subscription required — the pricing page has the breakdown, and product photography cost: DIY vs AI compares it against booking a traditional shoot. Once the stills are done, a strong one can become a short video ad; turning product photos into video ads covers that step.
Find your category above, fix the one thing that makes it hard, and build the set. Then start the next SKU.
Photograph any product category from one photo
Upload a single photo and re-stage your real product into white, marble, studio, and lifestyle scenes built for your category. Pay-as-you-go credits, no subscription required.
Try the Product Photo Studio