How to Take Product Photos with AI: A Beginner's Guide
You do not need a camera setup, a lightbox, or an editing background to get clean product shots anymore. If you can take one decent photo with your phone, an AI Product Photo Studio can restage that item into professional-looking scenes. This guide walks through the whole process, step by step, in plain terms.
The important thing to understand up front: the AI does not invent a new product. It is instructed to keep your real item's shape, colors, materials, label, logo, and any text, and to change only the background, lighting, and scene around it, without adding people or hands. Small text and fine details can still shift, so compare each photo with the item buyers will actually receive.
Step 1: Take one good source photo
You only need to upload a single photo. Spend a minute getting it right, because the AI works best with a clear starting image. Aim for:
- One product, centered, filling most of the frame.
- Even, natural light with no harsh shadows across the label.
- A plain, uncluttered surface behind the item.
- Sharp focus so the logo and any text are readable.
Your phone camera is fine. What matters is that the product is easy to see and nothing is blocking a key detail. Keep in mind the tool restages the item — it does not repair scratches, remove dents, or add features that are not there. Start with a photo that already represents the product honestly.
Step 2: Choose a scene that fits the buyer
Once your photo is uploaded, you pick a scene. There are plenty to choose from depending on the look you want:
- Pure white background — the marketplace standard for white-background product photos, ideal for Amazon and search results.
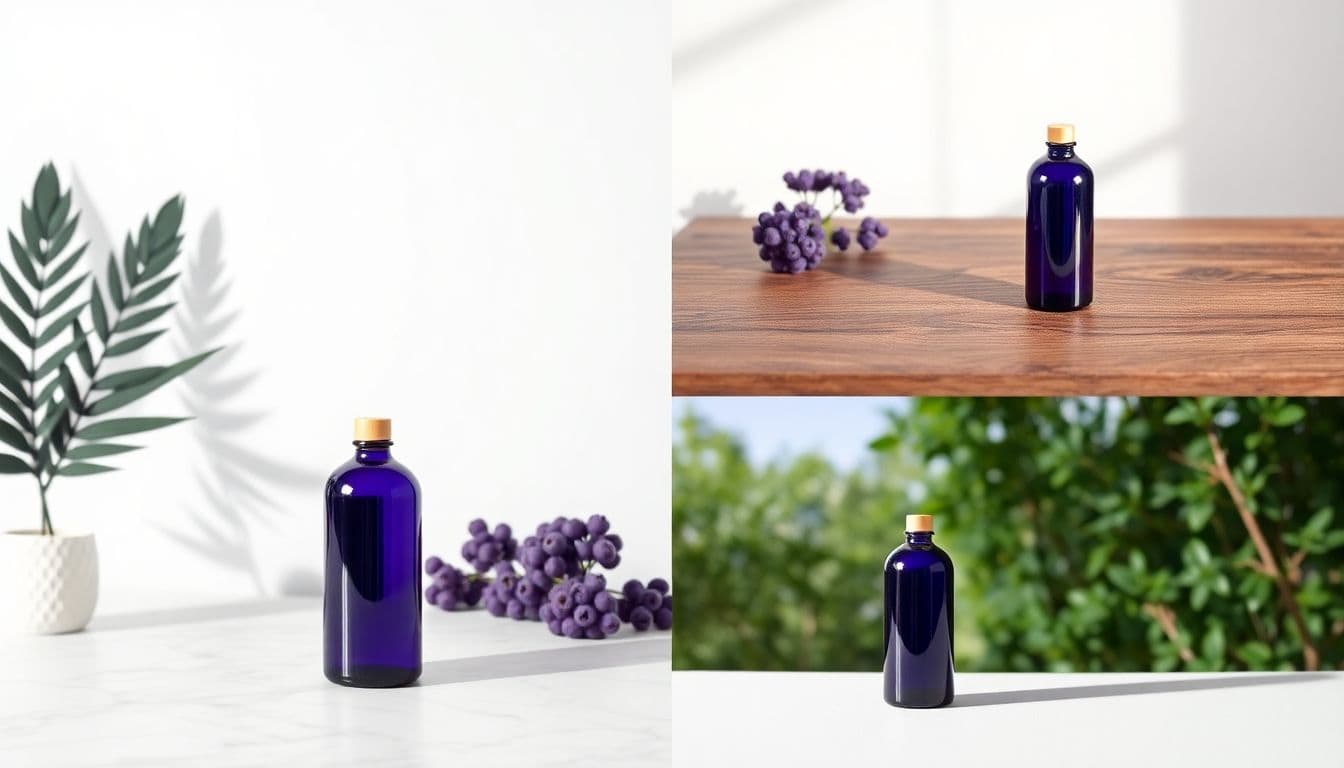
- Studio gradient, marble, or wood tabletop — clean and premium without feeling sterile.
- Luxury podium or pedestal — good for showcasing a single hero item.
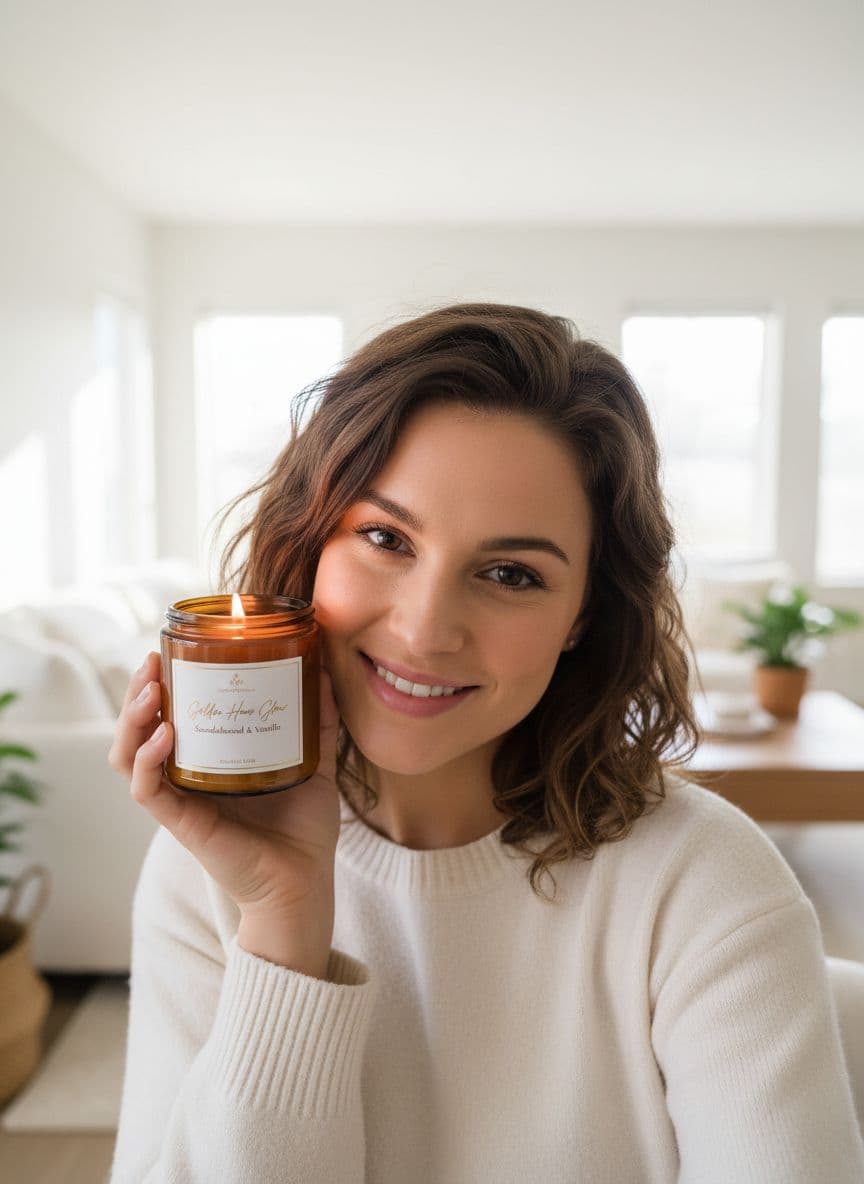
- Home interior, kitchen counter, bathroom vanity, or botanical — lifestyle product photography that shows the item in context.
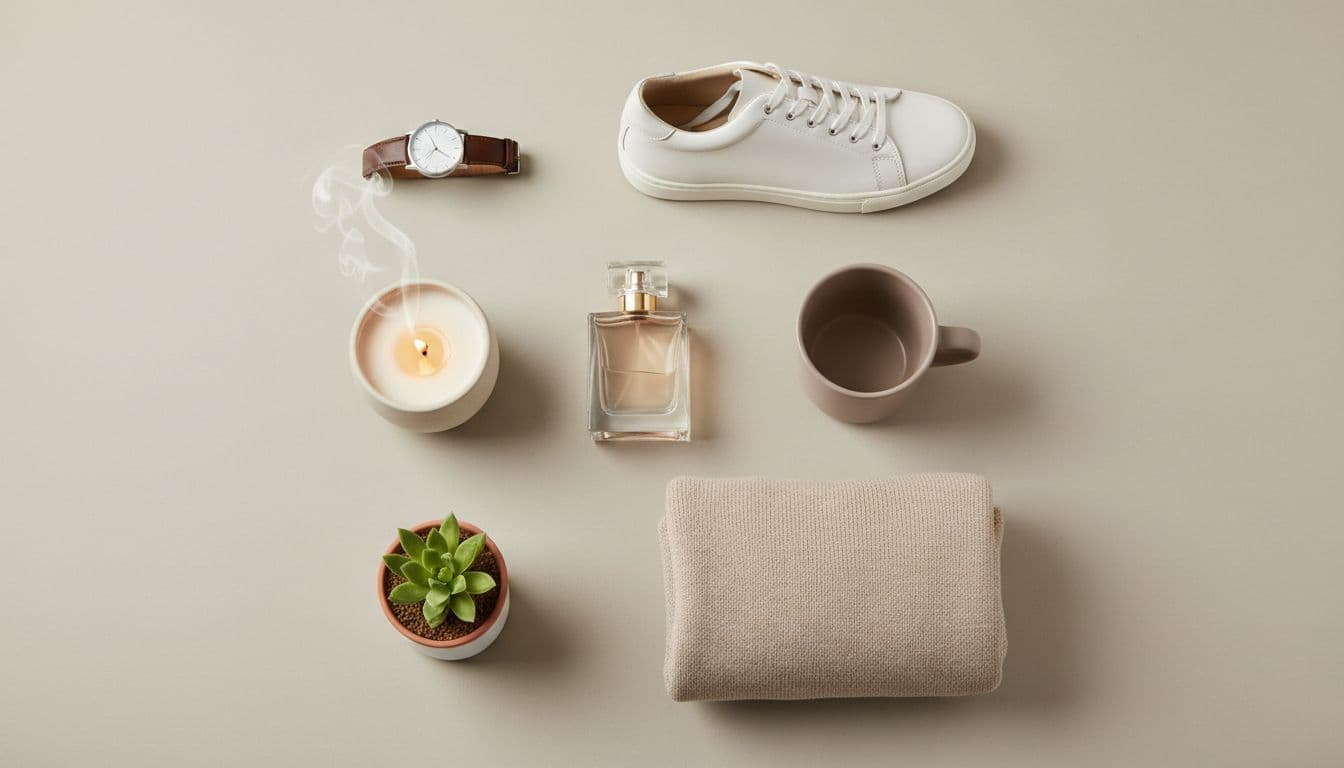
- Festive or flat lay — useful for gifts, bundles, and social feeds.
A useful rule: use a white background for your main listing image, then add a lifestyle scene or two to help shoppers picture the product in real life. For scene ideas matched to what you sell, this list of lifestyle product photography ideas breaks them down by product type, and niche guides like skincare product photography and candle product photography go deeper on a single category.
Step 3: Pick the right aspect ratio
Different platforms want different shapes, so set the ratio before you generate:
- 1:1 (square) for Amazon, Etsy, and eBay listings.
- 4:5 for Instagram and feed posts.
- 3:4 for tall listing thumbnails.
- 16:9 for banners and headers.
Matching the ratio to where the photo will live saves you from awkward cropping later.
Step 4: Start with a single shot
Product photos run on prepaid credits, so nothing generates until your account is funded — there is no sample render. The cheapest way in is to buy the smallest pack and generate one photo on a plain white background first, then check the result: is the label still crisp, are the colors accurate, does the product look like itself? If the source photo was clear, it usually will.
Step 5: Generate your full set
Happy with that first shot? Generate the rest of your set. You pay per photo in credits — three credits each, roughly a few cents — and credits come in one-time packs starting at $5 that never expire. a credit pack has no renewal to cancel. You can see the full breakdown on the pricing page. Every output is high-resolution, watermark-free, and cleared for commercial use, so the images are ready to publish as-is.
For most products, generate a small variety: one white background for the main image, a couple of lifestyle scenes, and a square plus a vertical crop so you are covered across marketplaces and social. The AI product photo generator renders each scene in a single pass, so building the whole set takes a few minutes rather than a photoshoot.
Step 6: Use the photos on your marketplaces
Now put them to work. Upload the white-background shot as your primary listing image, then add the lifestyle scenes as secondary photos to build context and trust. The same set works across Amazon, Etsy, eBay, Shopify, and your social channels — you generated the ratios you need in Step 3. If Shopify is your storefront, the Shopify product photo guide covers image sizing and keeping your collection grid consistent.
If you want to take it further, you can turn one of these photos into a short UGC-style talking video ad for TikTok, Reels, or retargeting. A clean photo is the foundation; a short video gives shoppers a reason to click.
That is the entire workflow: one photo in, a full set of professional images out, ready for your listings.
What works best varies a lot by what you sell — reflective watches, translucent candles, and knitwear each fail in their own way. For advice specific to your category, see product photography by product type.
Take product photos with AI in minutes
Upload one photo and restage your real product into clean, marketplace-ready scenes. Prepaid credits, one-time packs from $5, no subscription required.
Open the Product Photo Studio