DIY vs Photographer vs AI Product Photography: A Real Cost Comparison
Every seller hits the same question early: how do you get product photos that look good enough to sell, without the photo bill outrunning what the product earns? There are three real paths — shoot it yourself, hire a photographer, or use AI product photography to restage a photo you already have. Each one wins in a different situation. Here is an honest breakdown of what they actually cost you in money, time, and quality.
Shooting it yourself (DIY)
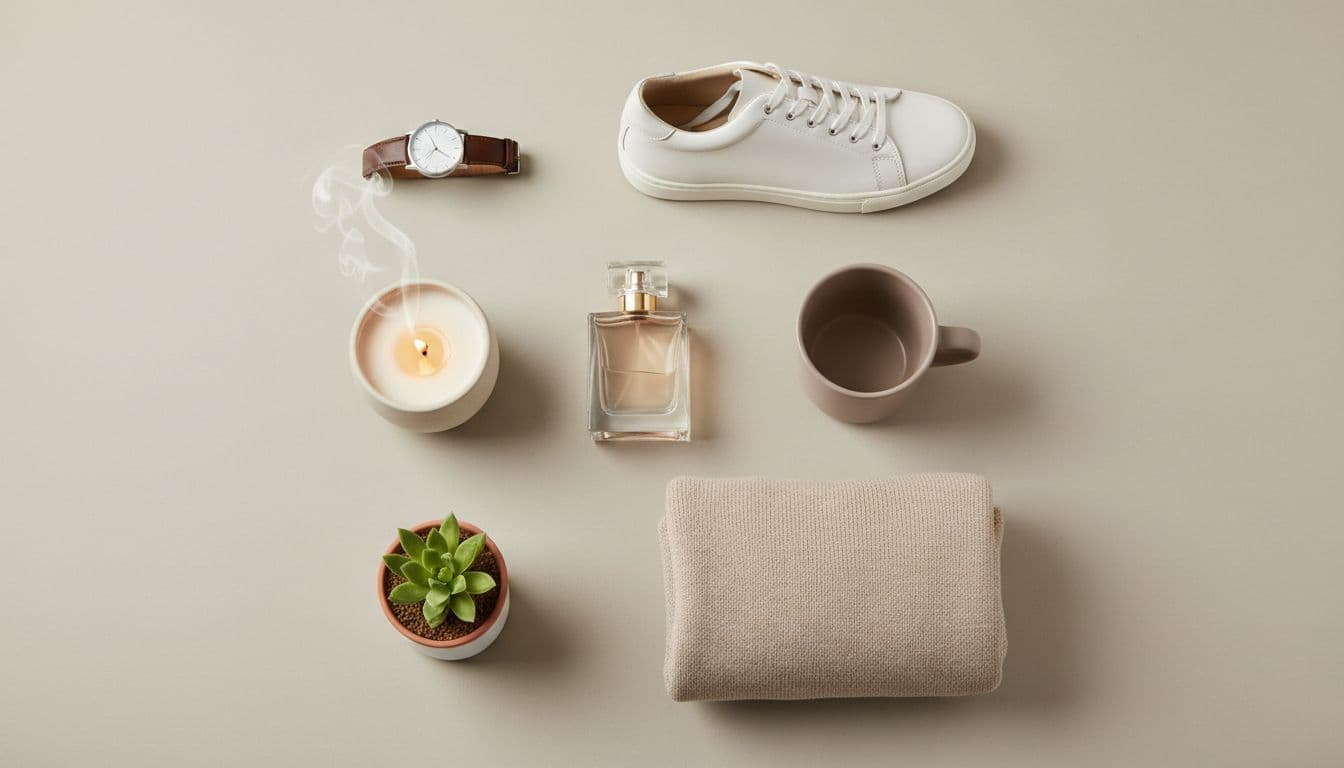
DIY is the cheapest option on paper. A phone, a window, and a $15 poster board can get you a usable white-background shot. If you already own the gear, your out-of-pocket cost is close to zero.
The real cost is time and consistency. A proper DIY setup — lightbox, tripod, backdrop, editing software — usually runs $50 to $300 up front, and then you spend hours shooting, cropping, color-correcting, and re-shooting when the lighting changes between products. For a catalog of 20 SKUs, that time adds up fast, and the results tend to drift as you get tired or the daylight shifts.
DIY makes sense when you enjoy the process, you have very few products, or you need to physically show something a camera must capture: a texture up close, a scale reference, a defect you want to be honest about. It struggles when you need dozens of consistent, on-brand scenes and you'd rather be running the business.
Hiring a professional photographer
A photographer is the premium path, and for good reason. Rates vary widely — many charge $50 to $150 per image, or a few hundred to a couple thousand dollars for a half-day shoot, depending on your market and their experience. You're paying for lighting expertise, art direction, and someone who can make a brand-new product look intentional the very first time it's seen.
This is where a photographer genuinely beats AI: the first hero shot of a physical product that has never been photographed. AI works from an image you supply, so if no good source photo exists yet, a pro shoot is the right investment. Photographers also handle things software can't — capturing true material behavior, on-model fit for apparel, food that has to look freshly made in real light.
The tradeoffs are lead time and cost per revision. Booking, shooting, and editing can take one to three weeks, and "can we try a different background?" often means another invoice. For a fast-moving store testing many angles, that loop is slow and expensive.
AI product photography
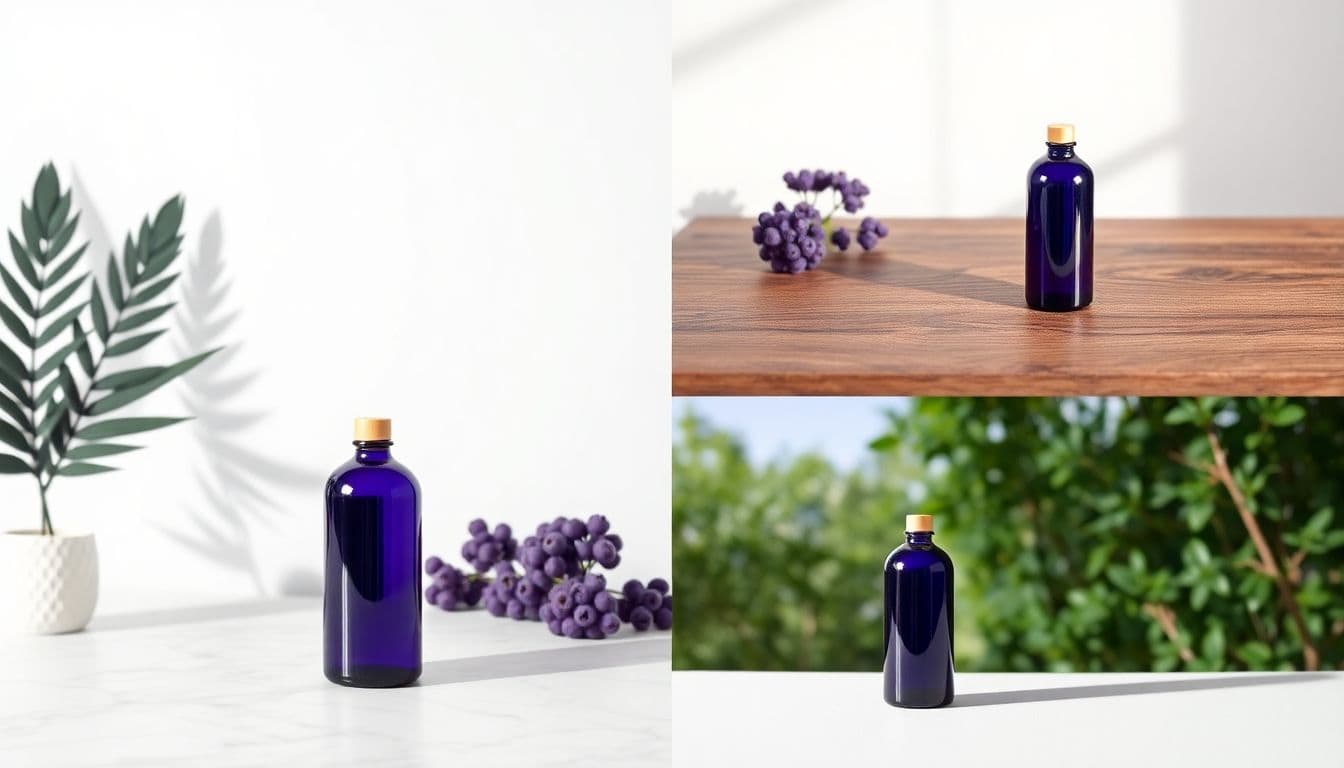
AI sits between the two. With TalkPix's Product Photo Studio, you upload one clear photo of your product and the tool restages that item into a new scene — a pure white background, marble, a wood tabletop, a cozy home interior, or a lifestyle setting. It is instructed to keep the product's shape, color, label, logo, and text, though small details can still shift. Only the background and lighting change. It won't retouch a dent or invent a feature, and that's by design — the product buyers receive should match the photo.
On cost, AI is closest to DIY without the labor. You pay per photo in credits — roughly a few cents each, three credits per image — from one-time packs that start at $5 and never expire. a subscription is not required and no per-revision fee, so trying ten background variations of the same product is cheap and instant. To be clear about how it works: there's no free tier here — the studio runs on prepaid credits, so you top up once and every render draws from that balance. You can see the full breakdown on the pricing page. If you are weighing subscription tools in this space, the Pebblely alternative and Flair AI alternative comparisons show how the pay-per-photo model stacks up on cost.
Where AI shines is speed, volume, and consistency: turning one decent source photo into a full set of marketplace and social-ready scenes in minutes, all matching in lighting and framing. Where it can't help is generating a shot when you have no usable photo of the product at all — that still needs a camera.
Which one should you pick?
Use this as a rough guide:
- Brand-new product, no photo yet, and the hero image matters most — hire a photographer for the first shoot, then reuse those images.
- You have one clean product photo and need many scenes, ratios, and platforms fast — AI is the most cost-effective by a wide margin.
- A handful of products and you like doing it yourself — DIY is fine, especially for honest close-ups and scale.
Most sellers end up combining them: one good source image (from a phone or a pro), then AI to spin that into every background, aspect ratio, and marketplace format the store needs. Once your photos are set, you can even turn them into a short video ad over at the product ad tool.
Turn one photo into a full set of product shots
Upload one product photo and restage it into professional scenes in minutes — 3 credits per image, one-time packs from $5, no subscription required.
Try the Product Photo Studio