How to Generate an AI Video from Text (Prompt to Finished MP4)
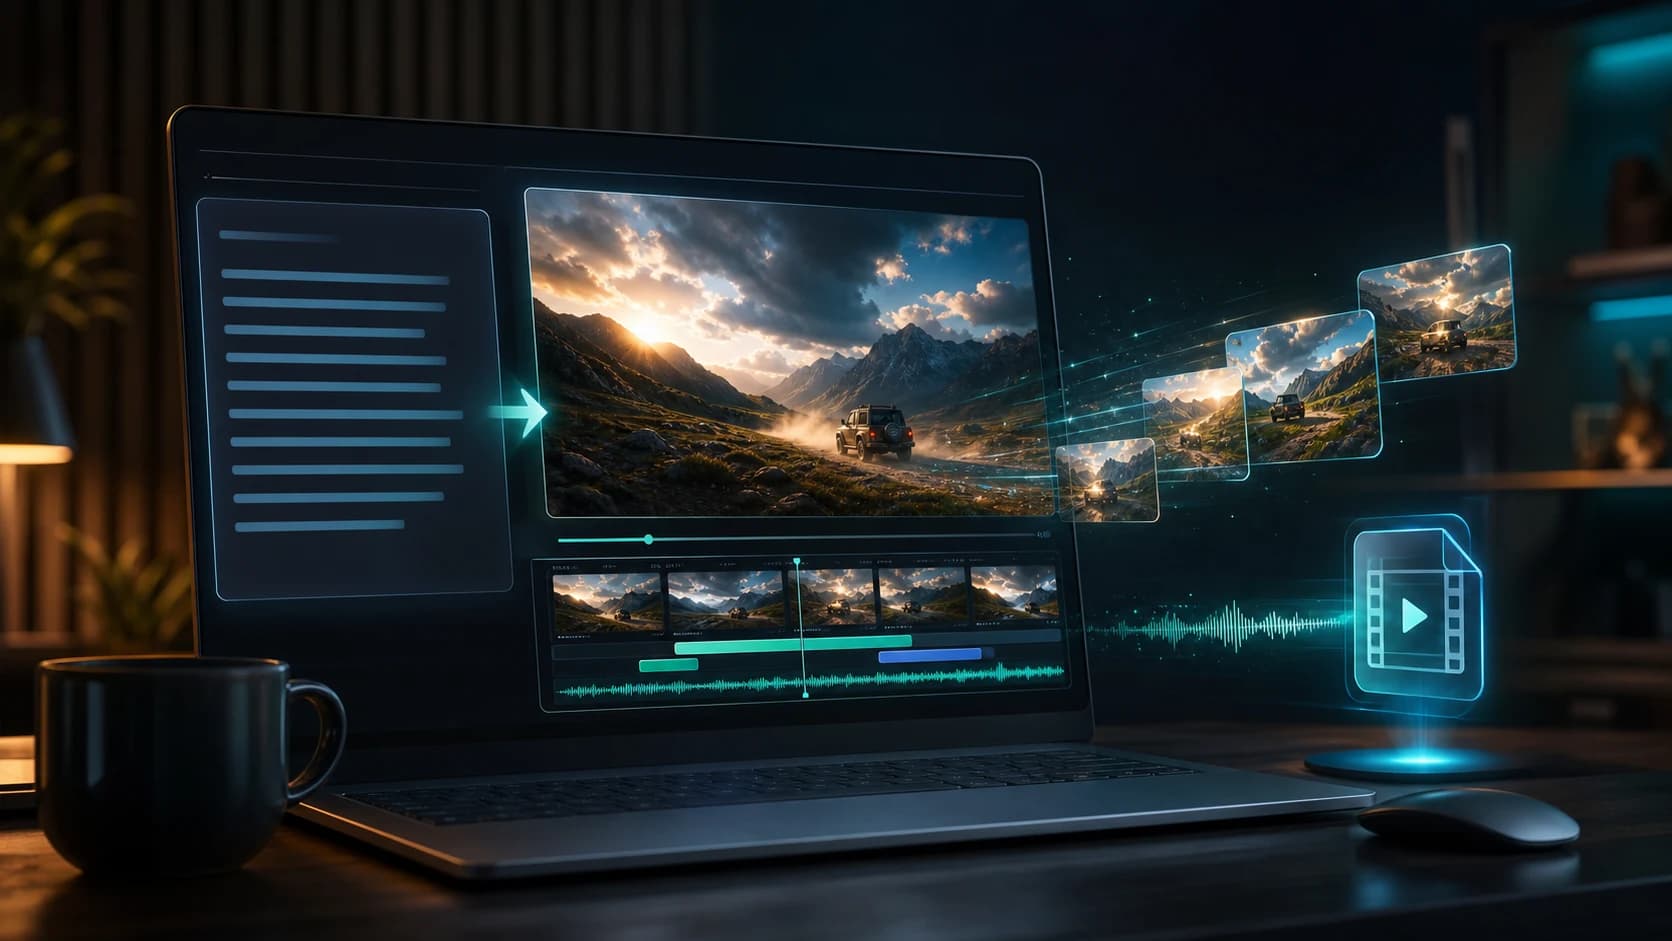
Text-to-video crossed a line recently: you can now type a paragraph describing a scene and get back a short, coherent video — with camera movement, lighting that makes sense, and sound generated to match. No footage, no stock clips, no editor.
This guide walks through the whole flow using the TalkPix AI video generator, from writing the prompt to downloading the MP4, with the actual costs at each quality level.
What you can (and can't) expect
Being honest about the state of the art saves you credits:
- Great at: single continuous shots — a drone flyover, a product rotating on a pedestal, a pet doing something cute, an atmospheric sci-fi scene.
- Good at: camera language ("slow push-in", "tracking shot"), weather, lighting moods, ambient sound and music.
- Weak at: long multi-scene stories, precise on-screen text, exact brand logos. Clips run 4–12 seconds — think "shot", not "film".
Step 1 — Write the scene like a shot list
The biggest quality lever is the prompt. A structure that consistently works:
Subject + action + setting + camera + light + sound.
A golden retriever puppy runs through a sunflower field at sunset, petals drifting in the wind. The camera tracks low alongside it, then rises into a wide shot. Warm cinematic light. Sound: playful orchestral music, soft panting, birdsong.
Every element earns its place: the camera line prevents random cuts, the light line sets the grade, and the sound line is what makes the clip feel finished. We collected ten more in our AI video prompt examples post.
Step 2 — Pick length, quality, and aspect ratio
- Length: 4 to 12 seconds, your choice per render.
- Quality: 480p for fast drafts, 720p for social posts, 1080p for final renders.
- Aspect ratio: 16:9 for YouTube, 9:16 for TikTok/Reels/Shorts, plus 1:1, 4:3, and 3:4.
- Camera lock: a "fixed camera" toggle kills pans and zooms when you want a static shot.
You can also upload an optional start frame (and an end frame) to lock the first and last look of the shot — useful when the clip has to match existing brand imagery.
Step 3 — Render your clip
AI video runs on prepaid credits, so nothing generates until your account is funded. Resolution sets the rate: 480p is 1 credit per second, 720p is 2, and 1080p is 3. Rendering a short clip at 480p first is the cheapest way to sanity-check the motion, then re-render at full quality once it looks right.
Type a scene, get a video
Turn a written prompt into a clip. Prepaid credits, one-time packs from $5, no subscription required.
Open the AI Video StudioWhat it actually costs
Pricing is per second of output, and the credit packs are one-time purchases (no subscription required, credits never expire):
- 480p — 1 credit/second
- 720p — 2 credits/second
- 1080p — 3 credits/second
Credits start at 10¢ each in the smallest $5 pack, so a 5-second 720p clip is 10 credits — about a dollar. A 12-second 1080p render tops out at 36 credits.
Iterating without wasting credits
- Draft at 480p, finalize at 1080p once the motion is right.
- Change one variable per render — prompt, then length, then quality — so you know what caused an improvement.
- Reuse the sentence structure of a prompt that worked and swap the subject.
Text-to-video vs. talking-photo — which do you need?
If your video is a person (or pet) delivering lines to camera, the talking-photo studio is the better tool: it animates a real photo with accurate lip sync. That same engine powers the industry tools on the use-cases page — everything from a real estate listing video to a clinic welcome clip. Text-to-video shines when there's no source photo at all — invented scenes, environments, product-in-motion shots.
Keep reading
Ready to try your first scene? Generate an AI video from text →